Ship The Cargo Upgrade Priority Tier List
Spend every payout in the right order: capacity, speed, handling, and defense ranked for early, mid, and late cargo runs.
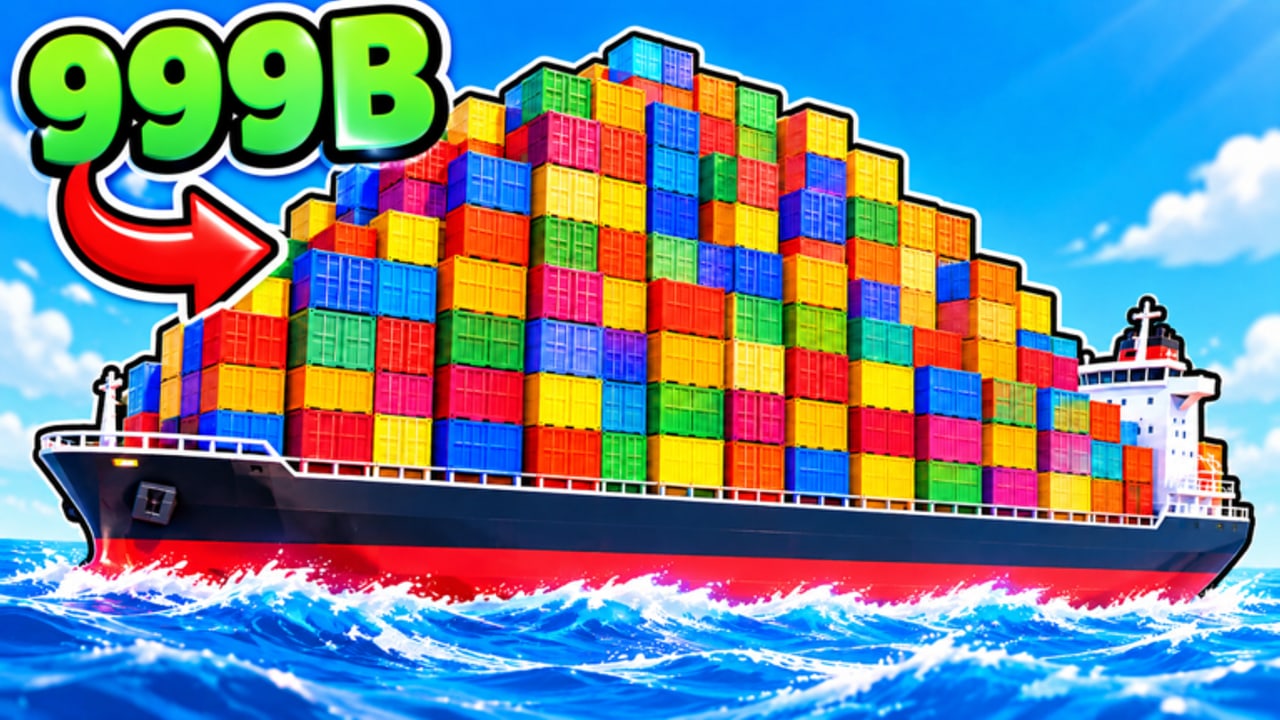
Upgrades decide whether your Ship The Cargo session prints coins or stalls in the shipyard. This upgrade priority tier list ranks upgrade types—capacity, speed, handling, and defense/hull—so you stop guessing after each sale. Pair it with the boat tier list, the boat upgrades guide, how to make money, and how to deliver cargo.
Big Boat Small Boat’s loop is simple on paper: load cargo, cross dangerous water, sell for profit, improve the boat, repeat. The spend order is where players leak hours. Buying a flashy speed node while your hold is tiny, or stacking armor before you can finish a short coastal hop, locks cash in the wrong stat. Use the S/A/B/C roles below as a spending doctrine, then verify the exact node names inside your client after patches.
Ranking criteria
Every upgrade type is scored on:
- Profit-per-hour impact — does it raise successful sales per session?
- Risk reduction — does it prevent wiped holds and retries?
- Timing — is it strong early, or only after the hull role matures?
- Synergy — does it multiply another investment (for example, capacity plus handling for safe docking with a fuller deck)?
S-tier upgrade types
Cargo capacity (early and mid priority)
Capacity is S-tier whenever your deck is full before you feel limited by travel time. More legal cargo per voyage means fewer docking cycles for the same coin target. In early game, a single capacity bump on a Starter Freighter or Coastal Hauler role often beats a raw speed purchase because you were leaving money on the pier.
Spend rule: if you regularly depart at max load, buy capacity next. If you depart half-empty, capacity is wasted—fix route choice or cargo selection first using how to deliver cargo.
Handling (the silent profit saver)
Handling upgrades—steering response, turn authority, dock control—belong in S for anyone who still clips harbors, overshoots berths, or panics in traffic. Twelve-player servers create wakes, blocked lanes, and last-second corrections. Handling turns near-misses into clean docks so cargo actually reaches the sell prompt.
Handling also multiplies capacity: a heavier hold is worthless if you cannot place the boat. After each capacity spike, ask whether the wheel still feels honest. If not, bank a handling node before the next bulk buy. Details and practice cues live in the boat upgrades guide.
A-tier upgrade types
Speed / power
Speed is A-tier for most of the climb and can become S on Ocean Runner roles once capacity and handling are “good enough.” Faster crossings raise trips per hour and help you leave danger cells quickly. It is not automatic S early, because a slightly slower boat that sells full holds still out-earns a rocket with a tiny deck.
Promote speed when:
- Holds fill consistently.
- Docking feels controlled.
- Your timer is dominated by open water, not loading mistakes.
Demote speed when you are still dying to hazards you could have avoided with defense or better route reads from the cargo run planner.
Defense / hull integrity
Defense (hull toughness, damage resistance, survival buffer) is A-tier for risky oceans and rises toward S when you pilot Heavy Cargo roles or sail event-heavy weather. One survived storm can equal several upgrade nodes of raw profit. One sunk premium hold can erase an evening.
Buy defense when failure cost is high: expensive cargo, long routes, or a hull you cannot easily replace. Skip stacking defense on short, calm coastal farms where you almost never take meaningful hits—those coins belong in capacity or speed.
B-tier upgrade types
Quality-of-life and minor utility
Lights, minor convenience toggles, small comfort nodes, and low-impact cosmetics sit in B. They can make long sessions nicer, especially on Mobile or Tablet where visibility and control feel different, but they rarely move profit-per-hour. Purchase them with surplus after your core four stats feel right for the boat role on the boat tier list.
Situational hybrid nodes
Some shipyard trees mix two effects (a bit of speed plus a bit of hull, for example). Treat hybrids as B until you measure them. If the hybrid is the only affordable step that unlocks a better node, take it; if it delays a pure capacity or handling spike you need now, skip it.
C-tier upgrade mistakes
Cosmetics before competence
Paint, flair, and vanity that do not change capacity, speed, handling, or defense are C-tier spends during progression. Enjoy them after your money loop from how to make money is stable.
Over-investing a dead hull
Pouring late-game prices into a C-tier bare starter is also a C move. Upgrade a starter just enough to fund the next role, then move spend to Coastal Hauler, Ocean Runner, or Heavy Cargo frames.
Ignoring breakpoints
Buying random +1 nodes with no plan creates soft locks. Always aim at a breakpoint: “next capacity lets me take one more crate,” “next handling stops dock bumps,” “next defense survives the common hazard.” Breakpoints beat scatter buying.
Early / mid / late spend order
Early game (first hours)
- Handling — learn to dock and turn without drama.
- Capacity — raise coins per successful trip.
- Light defense — only if you already lose cargo to basic hazards.
- Speed — once holds are consistently full on short routes.
Goal: graduate from bare starter to a Coastal Hauler role without bankrupt retries.
Mid game (stable coastal / mixed routes)
- Capacity to the comfort ceiling of your current hull.
- Speed to compress transit.
- Handling refresh after each capacity jump.
- Defense scaled to the routes you actually sail.
Goal: bank for an S-tier role purchase without pausing income. Recheck the boat tier list before the big buy.
Late game (Ocean Runner or Heavy Cargo mains)
Ocean Runner path: speed and handling first, capacity second, defense as insurance for aggressive lines.
Heavy Cargo path: capacity and defense first, handling to keep the mass steerable, speed last to claw back tempo.
Either path should still fund the opposite role eventually so you can swap when the ocean’s risk profile changes. Use the cargo run planner each session to decide which path’s upgrades matter today.
Session spend checklist
- Sell cargo; note whether the hold was full and whether you took damage.
- Identify the bottleneck: space, time, control, or survivability.
- Buy the matching S/A node—one clear upgrade, not three random ones.
- Run the same route again and compare profit and stress.
- Only then open cosmetics or jump hulls.
Related reading
Affirmative rule: every upgrade should answer a measured problem from your last voyage. If you cannot name the problem, do not spend—sail one more clean delivery, then decide.
Frequently Asked Questions
Quick answers to the most common questions.
What should I upgrade first in Ship The Cargo?
Early on, prioritize handling so you can dock cleanly, then capacity so each successful trip pays more. Add light defense if hazards already wipe you, and buy speed once holds are consistently full.
When does speed become the top priority?
When cargo capacity and handling are good enough that open-water transit—not loading or docking—is your main time sink, especially on Ocean Runner style roles.
Should Heavy Cargo builds buy defense early?
Yes. High-value full holds make survival A-to-S priority. Pair defense with capacity, then fix handling so the heavier boat still docks safely.
Are cosmetic upgrades ever worth it?
After your money loop is stable. During progression they are C-tier because they do not raise capacity, speed, handling, or hull defense.
How do boat roles change upgrade order?
Coastal Hauler stays balanced. Ocean Runner pushes speed/handling. Heavy Cargo pushes capacity/defense. Confirm your role on the boat tier list before spending a big payout.