Ports and Routes in Ship The Cargo
Choose coastal loops or open-ocean crossings, read traffic, match boat role to distance, and know when to abort.
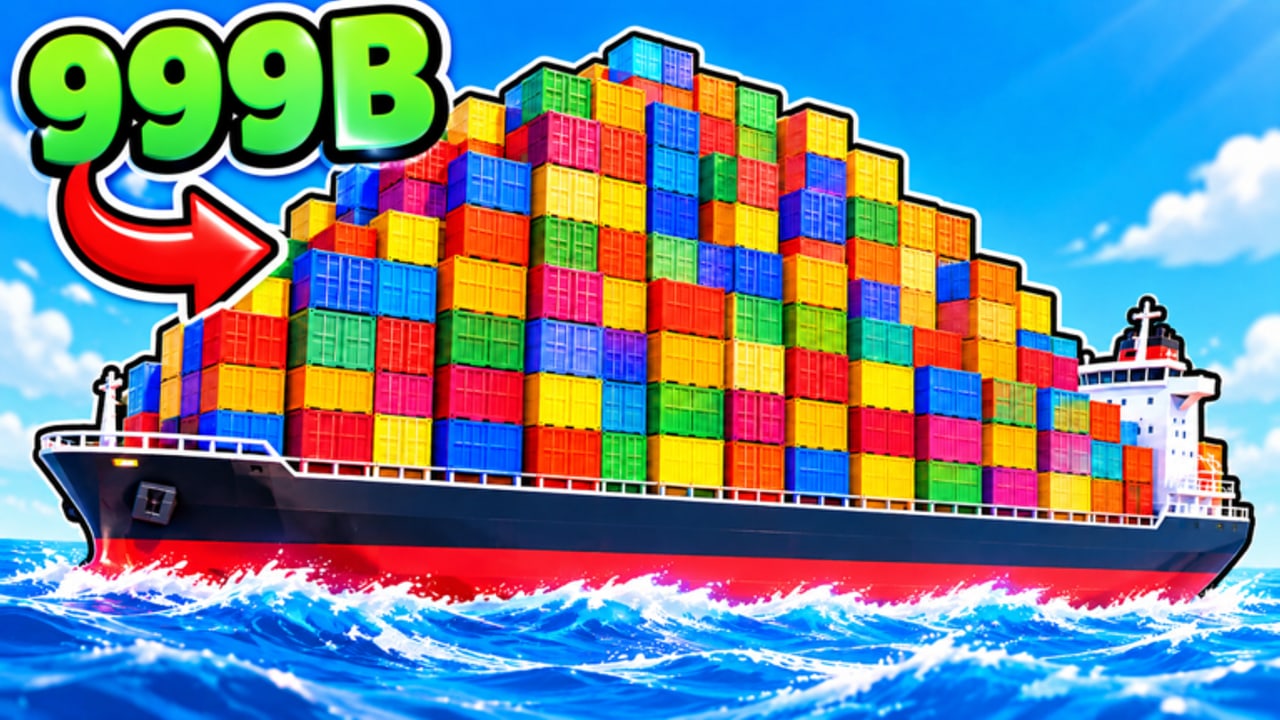
Route choice is the quiet skill that separates steady captains from wipe magnets in Ship The Cargo. The game by Big Boat Small Boat (released 2026-10-07) is a free Roblox Simulation / Tycoon loop: load cargo, cross water, survive hazards, sell for profit, upgrade the boat, repeat. Servers hold up to 12 players on Desktop, Console, Mobile, and Tablet — which means docks and lanes get crowded. This guide teaches how to plan ports and routes with community role language (starter docks, coastal lanes, open-ocean crossings, high-traffic chokepoints) instead of invented “official” place names. Pair it with how to deliver cargo, how to make money, survive ocean dangers, and the interactive cargo run planner.
Why route planning beats raw throttle
A longer contract is not automatically a better hour. Exposure time, congestion at berths, and your boat’s real readiness all tax payout. Short coastal loops bank reliable cash and train docking. Open-ocean crossings can pay more but keep freight at risk longer and leave fewer abort options. Treat every departure as a bet you can still cancel — not a dare.
Before you cast off, answer four questions out loud:
- How long is this run relative to my session time?
- How busy are the docks and lanes on this server right now?
- Does my boat’s role (starter / mid / long-haul capable) match that distance?
- What is my abort condition if damage, weather, or traffic spikes?
If any answer is fuzzy, open the cargo run planner and force the checklist before you load a full hold.
Route archetypes (role-based, not lore names)
Use these community route roles when you talk with crew or plan alone. They describe job shape, not a fixed in-game atlas of named ports.
Starter docks and short coastal loops
- Role: first-hour practice, post-upgrade shakeouts, “safe bank” after a bad wipe.
- Shape: hop between nearby berths along the coast; keep land or landmarks in sight.
- Strengths: fast feedback on loading and docking; low time-to-cash; easy aborts.
- Weaknesses: lower peak payout; more competition for the same piers on full servers.
Use coastal loops until controls feel automatic and your hull is not limping. New captains should finish getting started habits here before chasing horizon jobs.
Coastal lanes (medium hops)
- Role: steady mid-session income once short loops feel boring.
- Shape: longer shoreline runs that still offer divert options to secondary berths.
- Strengths: better payout than micro-hops without full open-water exposure.
- Weaknesses: more traffic mixing with players entering/leaving starter areas.
Coastal lanes are where money guides and delivery discipline meet. Revisit how to make money if you keep taking medium jobs with a boat that still fails basic wave handling.
Open-ocean crossings
- Role: intentional high-exposure hauls for captains with spare durability and time.
- Shape: blue-water legs with fewer visual crutches and longer return paths if things break.
- Strengths: stronger contract value when you finish clean.
- Weaknesses: weather and threat windows last longer; aborts cost more; fatigue rises.
Never “accidentally” become an open-ocean captain because the bow pointed at empty water. Choose the crossing after a successful coastal warm-up and a clear abort plan from survive ocean dangers.
High-traffic chokepoints
- Role: shared bottlenecks — narrow approaches, popular sell piers, funnel lanes near busy hubs.
- Behavior: expect stacking, side-swipes, and impatient throttles on 12-player servers.
- Rule: cut speed early, claim a clear angle, and wait rather than ram for a “save” of thirty seconds.
Chokepoint skill is docking and spacing, not lore. If every session ends in pier collisions, your route plan is incomplete even when the map distance looked fine.
Matching boat role to route length
Route length should track boat role, not ego.
| Boat readiness | Prefer | Avoid for now |
|---|---|---|
| Early / starter hull | Short coastal loops, light holds | Long open-ocean crossings |
| Mid upgrades (speed or capacity climbing) | Coastal lanes, selective medium contracts | Max-distance jobs in storms or chaos servers |
| Durable long-haul setup | Planned open-ocean crossings with abort docks in mind | Stacking greed runs when you are tired or low on real-world time |
Capacity upgrades raise the cost of failure — a bigger hold on a fragile route is not “progress.” Speed without handling turns chokepoints into crash sites. Cross-check spend order in boat upgrades and the boats / upgrades tier lists so your next purchase unlocks a route class, not just a shiny stat.
Co-op note: match difficulty to the least ready captain on the deck. A 12-player server with mixed skill is safer on coastal lanes than on a pride crossing.
Congestion and traffic reading
Busy servers change the value of every berth:
- Departure docks clog when many players load at once — stagger cast-offs or take a quieter angle.
- Sell piers spike after popular contracts; arrive early in your deceleration, not late in a panic slide.
- Lane mixing near chokepoints creates crossing traffic; assume someone will cut across your bow.
- Platform mix (Desktop, Console, Mobile, Tablet) means uneven throttle finesse — give wider berths.
Traffic is an economic tax. If three hulls are fighting one pier, the correct “route” may be waiting sixty seconds or diverting to a less contested turn-in when the job allows. That patience often beats the sunk cost of a collision that voids the run you already sailed.
When to abort (build the rule before you leave)
Aborting is part of route planning, not a moral failure. Pre-commit to leave the plan when:
- Hull damage climbs faster than you can mitigate.
- Weather or threats erase visibility and control.
- Congestion at the destination makes a clean dock unlikely and you still have a safer divert.
- Real-world time is almost up and a disconnect mid-hold would hurt more than turning early.
- Crew coordination collapses (two people fighting the wheel, no shared calls).
Abort paths: divert to a nearer berth, consciously drop the contract, or prioritize boat survival over freight. A living boat funds the next coastal loop; a sunk “almost there” funds a lecture. Deepen the emergency stack in survive ocean dangers after you define the trigger.
Using the cargo run planner every session
The cargo run planner on the tools hub is a living checklist, not an in-Roblox auto-calculator. Use it to lock:
- Session time and risk appetite.
- Route archetype (coastal loop vs open-ocean crossing).
- Boat role versus job length.
- Congestion expectations and abort condition.
- Post-sale upgrade intent so you do not blow the bank on the wrong node.
Workflow: planner → accept job → load → sail → dock/sell → debrief → planner again. If the planner says the boat and the distance disagree, believe the planner — then either shorten the route or upgrade before you stretch.
Link the money, delivery, and survival triangle
Ports and routes sit in the middle of three guides:
- Delivery (how to deliver cargo) — accept, load, navigate, dock, sell.
- Money (how to make money) — payout versus failure cost and reinvestment timing.
- Survival (survive ocean dangers) — keep the boat controllable and the hold alive.
A good route plan is simply those three pages applied to this server’s traffic and this boat’s readiness. After patches, skim updates then re-test one short coastal loop before staking a full open-ocean hold.
Practical session templates
Warm-up (10–15 minutes): starter-dock coastal loops only; practice square docking; no open water.
Earn block: two to four coastal-lane jobs; one planner check mid-block if congestion rises.
Stretch attempt (optional): one open-ocean crossing with a named abort condition; stop after success or after one clean abort — do not revenge-sail.
Cooldown: bank coins, repair mindset, spend only on the upgrade that unlocks your next intended route class.
Pre-departure ports-and-routes checklist
- Route archetype chosen (coastal loop, coastal lane, or open-ocean crossing).
- Boat role matches distance and hold size.
- Congestion scanned at pickup and expected sell berth.
- Abort condition stated.
- Cargo run planner answers filled for this session.
- Delivery, money, and survival habits fresh enough that you are not improvising mid-storm.
Master ports and routes and Ship The Cargo stops feeling like random ocean roulette. You will still face danger — that is the point of Big Boat Small Boat’s fantasy — but your path, your traffic reads, and your abort calls become deliberate. Bookmark this page with the guides hub, run the planner, and let every departure earn its place on the water.
Frequently Asked Questions
Quick answers to the most common questions.
Should I always take open-ocean crossings for more money?
No. Open-ocean legs can pay more but expose cargo longer with fewer easy aborts. Stack short coastal loops until your boat’s speed, handling, and durability match longer jobs.
What is a high-traffic chokepoint in Ship The Cargo?
A community role for busy bottlenecks—popular sell piers, narrow approaches, or funnel lanes on 12-player servers. Cut speed early and wait for a clear angle instead of ramming through.
How do I match my boat to a route?
Starter hulls stay on short coastal loops; mid builds use coastal lanes; durable long-haul setups attempt planned open-ocean crossings. Capacity raises failure cost—do not stretch distance before readiness.
When should I abort a planned route?
Abort when damage outpaces mitigation, weather or threats kill control, destination congestion makes docking unsafe, real-world time is nearly gone, or crew coordination fails. Divert or survive first.
How does the cargo run planner help with ports and routes?
The cargo run planner forces session time, risk, route archetype, boat-role fit, congestion expectations, and abort rules before you leave the pier. Re-check it mid-session if the ocean or traffic changes.
Which guides should I read with this ports and routes page?
Pair it with How to Deliver Cargo, How to Make Money, and Survive Ocean Dangers, plus the Cargo Run Planner tool. Use Boat Upgrades and the tier lists when a route class needs better stats.